Setting up a WooCommerce store in Codesphere
A tutorial about setting up WooCommerce on Codesphere.
WooCommerce is the leading e-commerce plugin for WordPress. It is highly customizable, open-source and given the right hosting setup can power large e-commerce businesses. Setting it up in Codesphere is really simple.
Prerequisites
- A MySQL database (can be provisioned in our Marketplace in a few clicks if needed, explained below)
- A Codesphere account (free sign up)
Create a new workspace
Navigate to the team where you want to create your store and click new workspace.

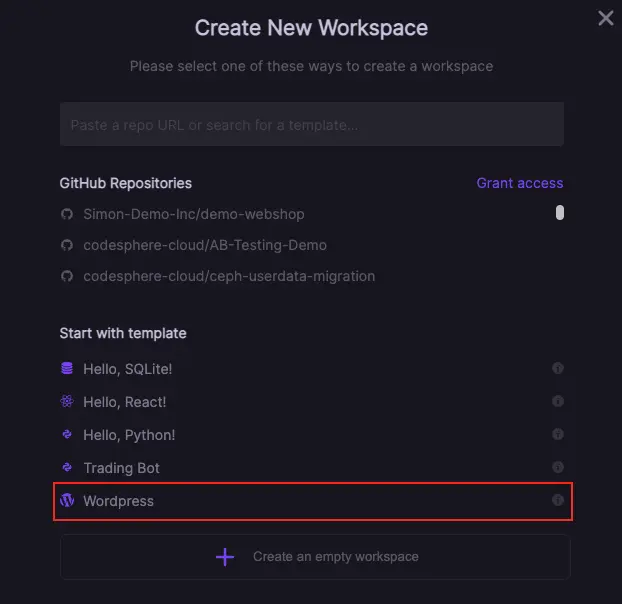
WordPress template
Select the WordPress template, provide a name for your application and select a plan (for testing the small plan will be sufficient, for any production environment go for Boost or higher):
Create a new database (Skip if a hosted database is already available)
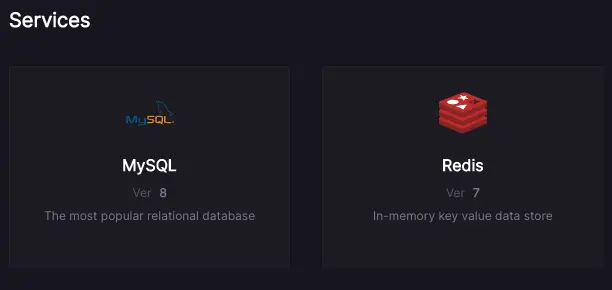
To create a new MySQL database follow these steps:
- 1.Navigate to
Marketplace - 2.Select the MySQL from the services
- 3.Provide name and select resources
- 4.Hit Create
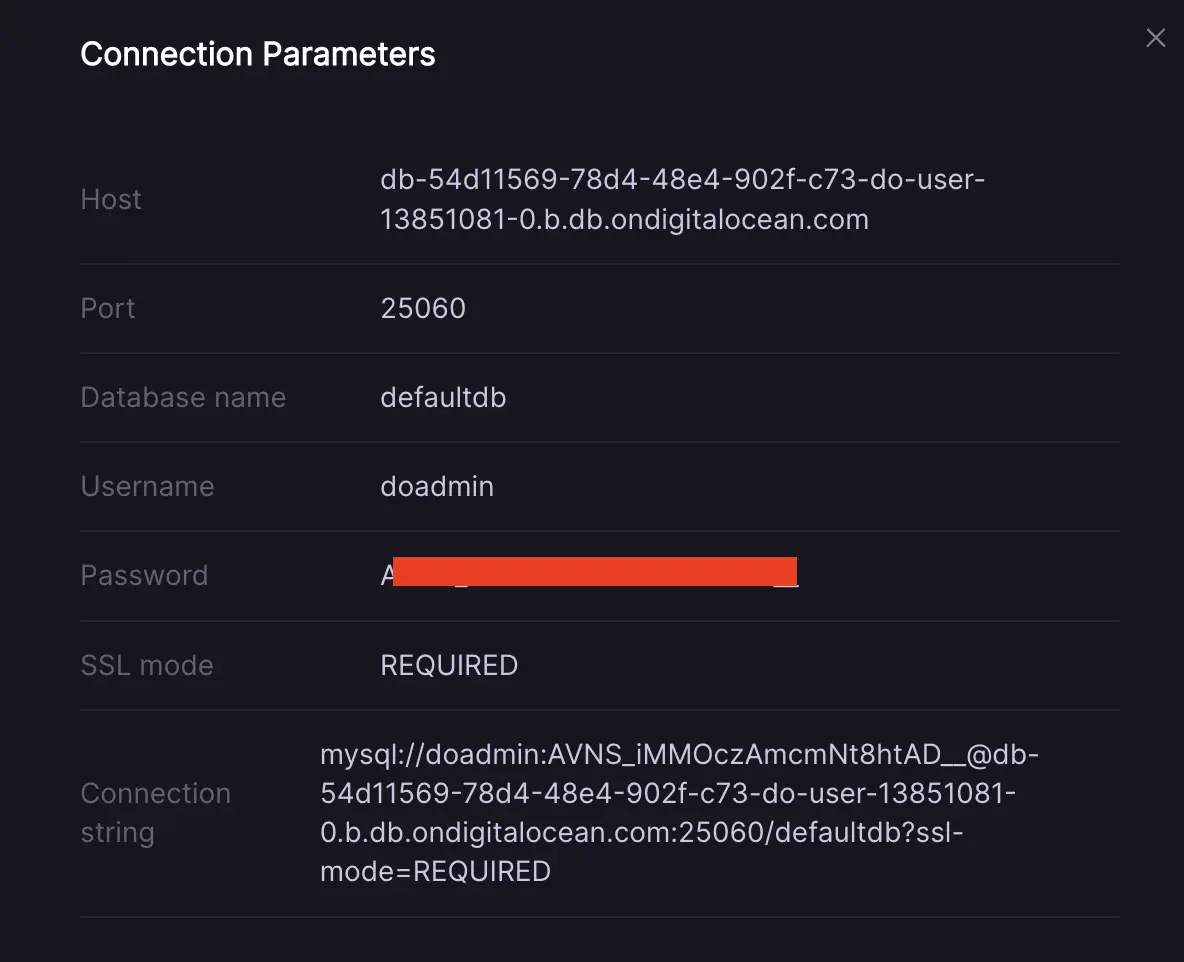
- 5.Once provisioned, click
Show info - 6.You will need these in the next step
The provisioning will take some time (~3 min), after that continue.
Find your WordPress config file
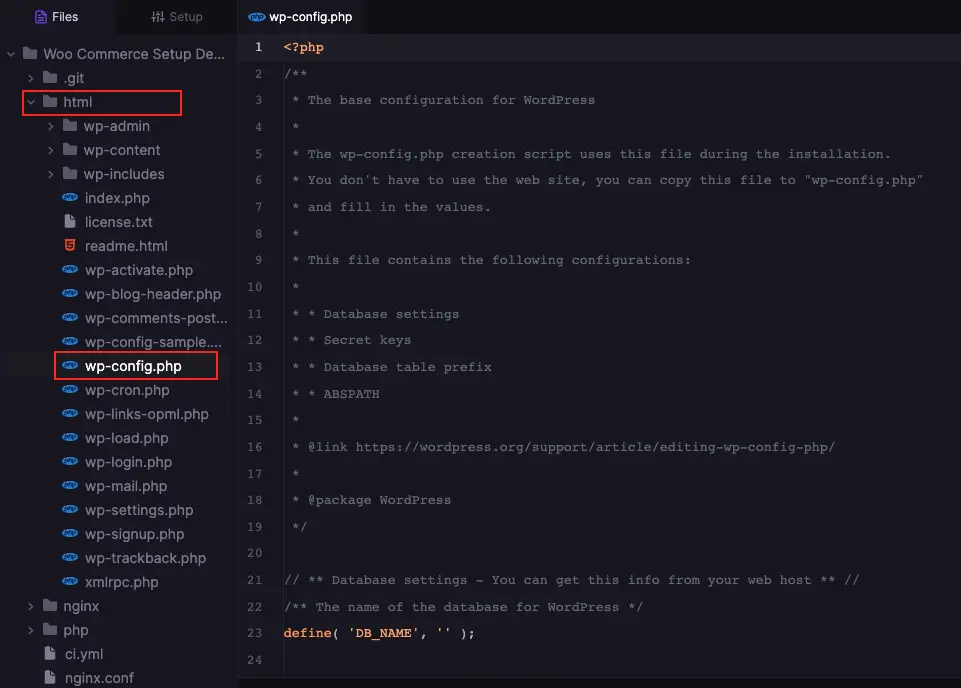
Back in your created Codesphere workspace open html/wp-config.php and scroll to the database settings.
Update the database entries
Edit the following entries of the WordPress installation to point them to the correct database (DB_NAME, DB_USER, DB_PASSWORD, DB_HOST).
Make sure to append the port (:25060 for DigitalOcean) to your DB_HOST
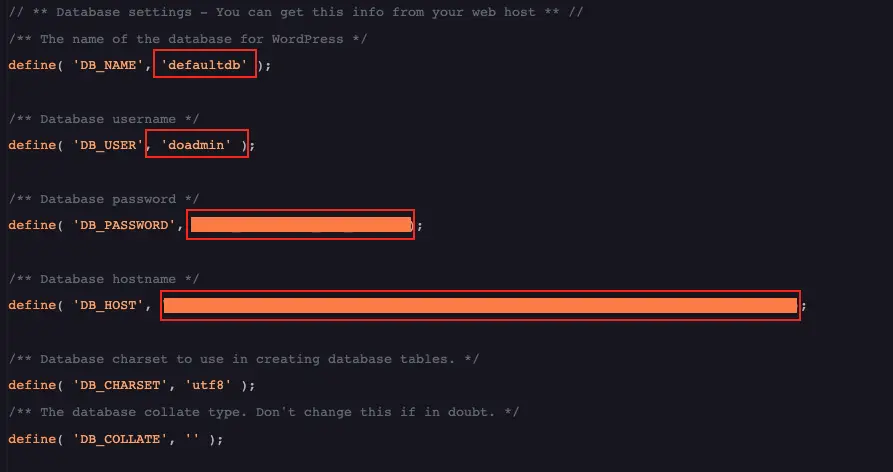
We recommend the use of environment variables for securely storing sensitive information such as secrets or passwords. However, in this instance, we directly input these details into the wp-config.php file on the server side. As we ensure this file is excluded from our repository commits, this method does not compromise the security of the sensitive data in this particular case.
Generate and insert app secrets and salts
Scroll down to the authentication and salt keys part of your wp-config file. Open this link in any browser to generate a new set of keys: https://api.wordpress.org/secret-key/1.1/salt/Copy the string snippet generated into your wp-config file, replacing the empty keys.

Run your application
Navigate to CI Pipeline, select the run stage and click the run button. Now Wordpress will start up.
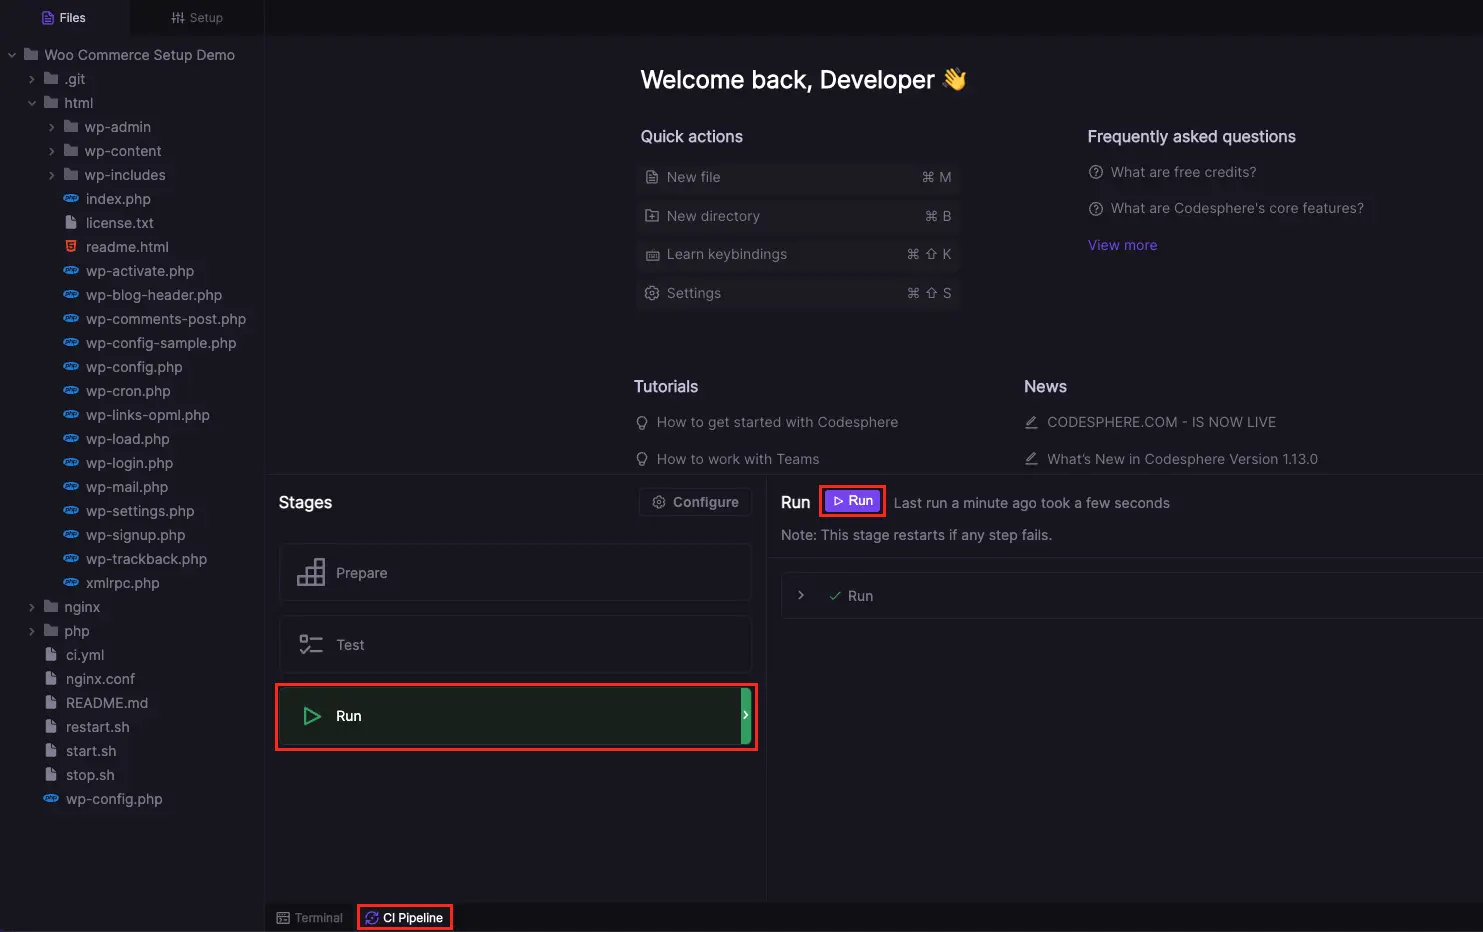
Finish the WordPress setup
Open your deployment and follow the steps on the screen to finish up the WordPress installation.
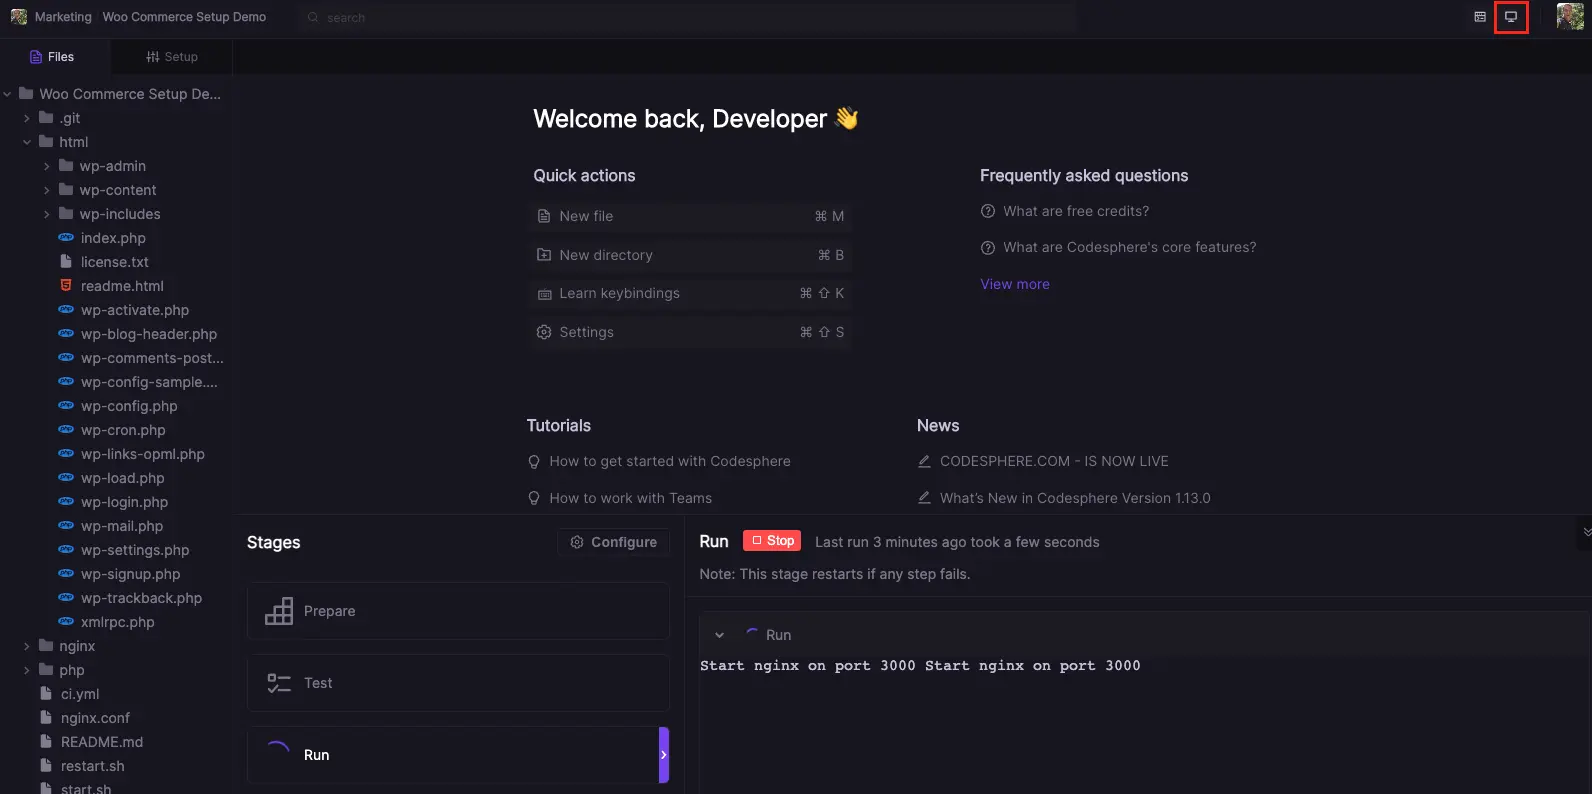
Install plugins as needed
Now you have a clean WordPress installation, if you want to install WooCommerce it’s just a few clicks away via the Plugins tab. Follow the guided steps and you will have your shop up and running in no time.Once you are ready to take your shop live you might want to connect a custom domain by following this tutorial: Custom Domains
Check out the following tutorials to learn more:
