Host Your Discord Bot on Codesphere
Learn how to host your Discord Bot on Codesphere and build with us a bot with Discord.js in this Tutorial!
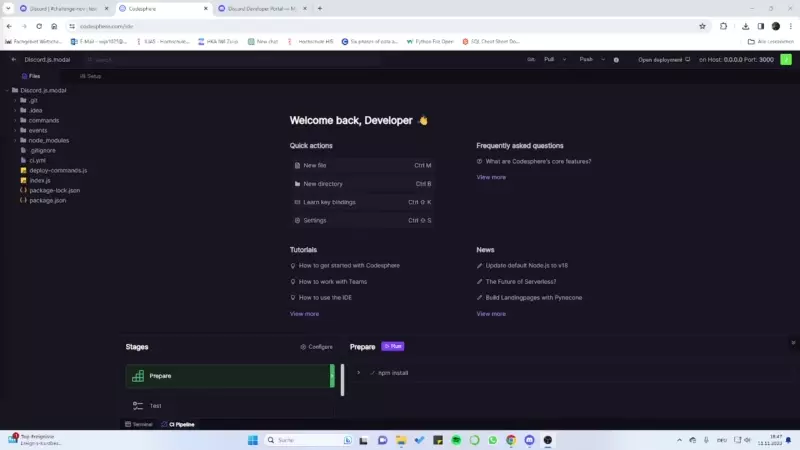
On Codesphere you can effortlessly host your Discord bot. This tutorial demonstrates the process of creating a bot and adding it to your server. It also explains how to set up the workspace with environmental variables and connect a SQLite database. Additionally, it explains how to utilize Discord Developer Mode for this purpose.
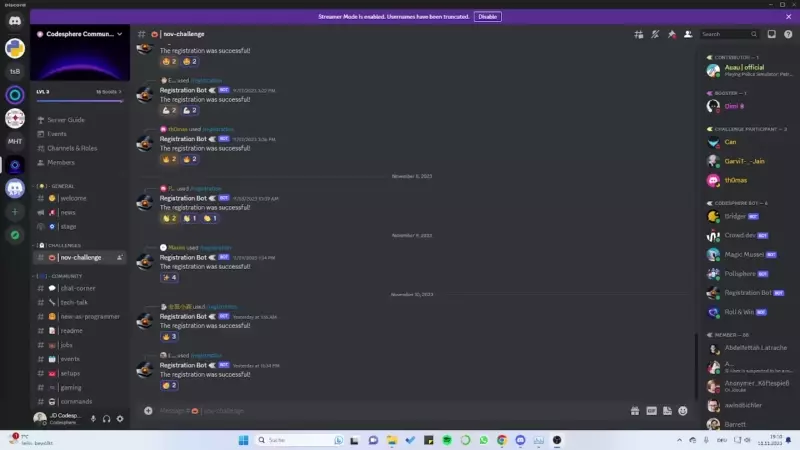
Our 'Registration Bot' from our own community server serves as the basis for the bot featured in this tutorial. This bot manage the sign-up process for our monthly challenges.
The bot prompts users for an email address and optionally a Team ID and team name. After signing up, the bot creates a Team ID and sends it directly to the user, allowing them to invite friends to their team. Also, everyone who is using this Slash command gets a new role on the server. A SQLite database stores all the data.
With that said, let's begin recreating this bot. If you are interested in creating your own Discord bot, you can refer to the official tutorials from Discord.js: Discord.js Guide
Create a discord bot application
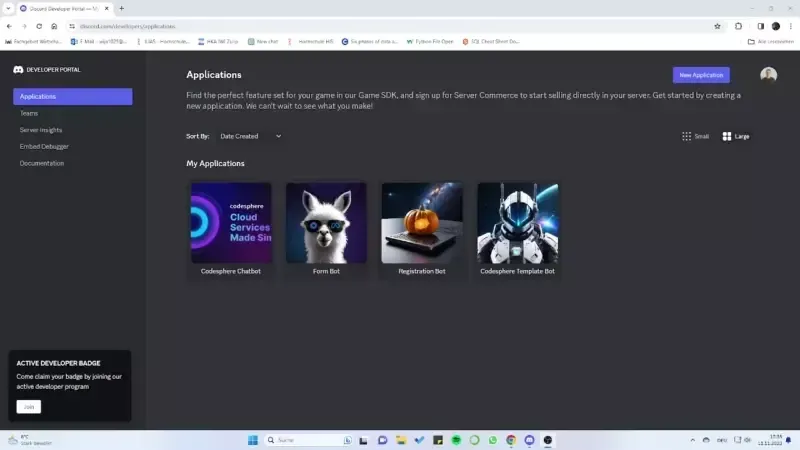
Log in to your Discord account on the Discord Developer Portal: Discord Developer Portal
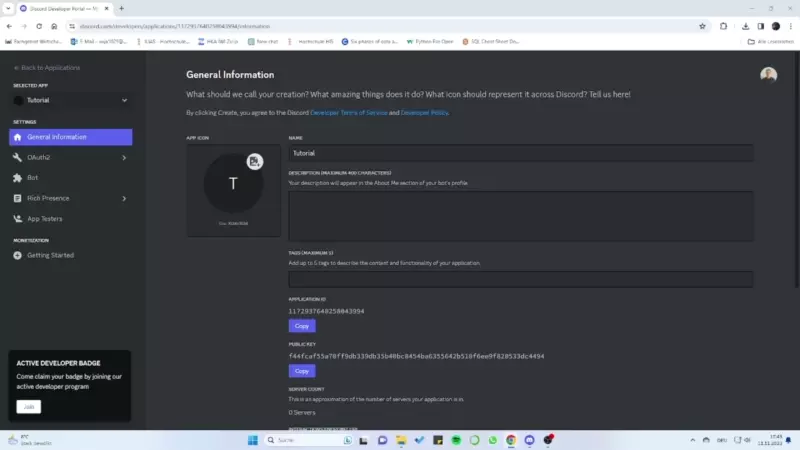
Create a new application by clicking the blue 'New Application' button in the top right corner. Name your bot application and agree to the terms and conditions.
Congratulations, you now have your first Discord application. Remember, never share any credentials for an application with others to prevent misuse of your bot.
Invite the Bot to your server
Go to OAuth2 and then to the URL Generator. Here, we will generate the invitation link for our bot. In this section, we can set up all the permissions the bot needs to fulfill its functions.
The more permissions your bot has, the more 'power' it has. However, with great power comes a higher risk of misuse if any secret credentials fall into the wrong hands. Only select the necessary permissions and nothing more. For the use case in our Discord Bot Template, you need the following permissions:
Now, your bot has joined your server and is visible in the member list on the right.
As you can see, the bot is currently offline. In the next step, we will host our bot in a Codesphere workspace so that it can come online.
Set up the Bot on the server
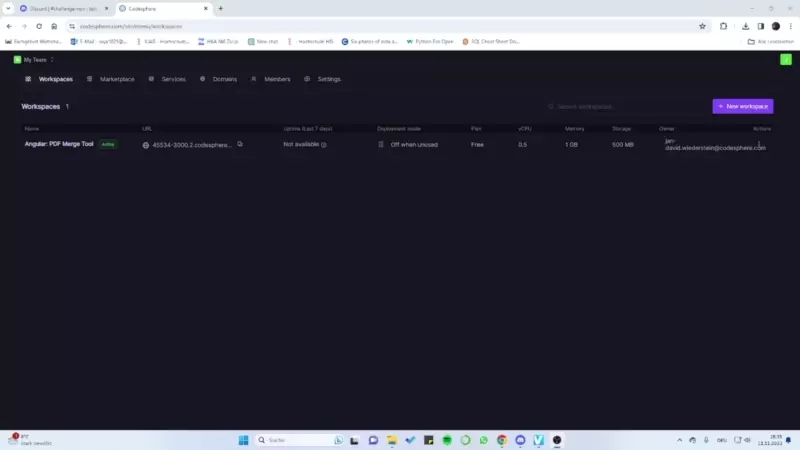
Create a new workspace and clone the Git repository. You can run the prepare stage of the CI-Pipeline to install all necessary dependencies.
Git repo: https://github.com/codesphere-cloud/TutorialBot
Create environmental variables
For security reasons, we use environmental variables to load sensitive data into our Bot. This prevents hardcoding sensitive information in the source code. In this section, we'll set up the required environmental variables in Codesphere.
Now you need to set up the bot's token which is essentially the password for the bot.
You can get your first token in the Discord Developer Portal in the Bot section
Create your first token. Keep in mind that you can only view this token once, so make sure to save it securely. However if you lose your token, you can reset it.
Note: If a token is not valid, your bot can't go online.
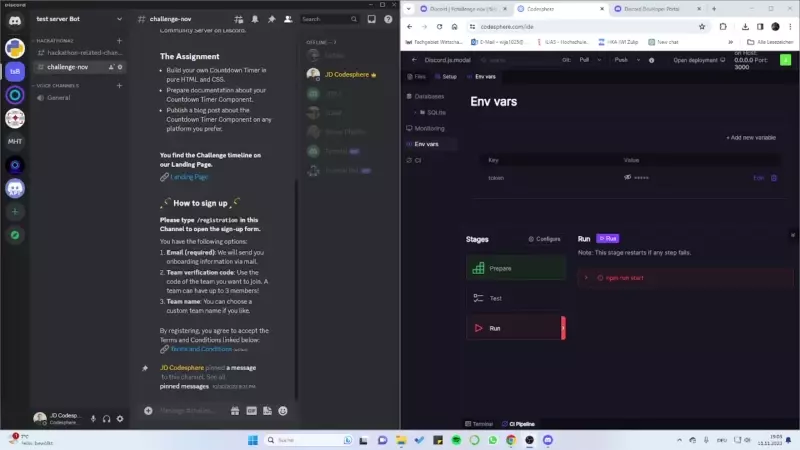
Now we can set up the environmental variable. For this, go to 'Set up' and then select 'Env var' in the menu.
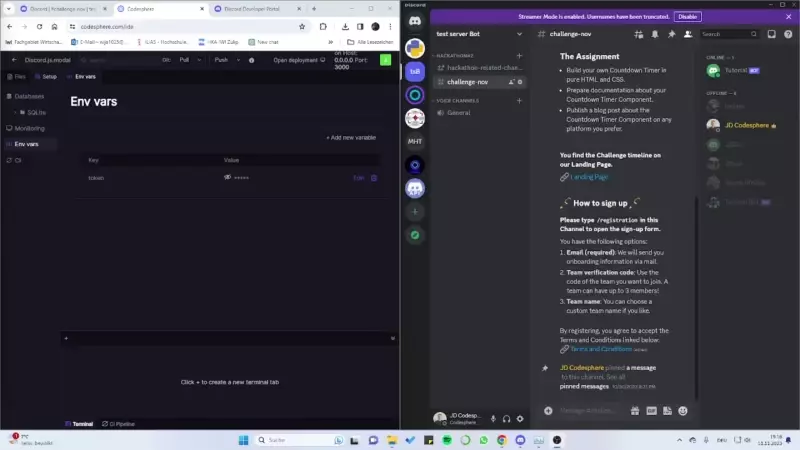
Add a new variable, name the key ‘token’ and paste the token you copied from the Discord Developer Portal into the value field.
Name the key 'token' to enable the Bot's utilization of it. If you decide to change the variable name, make sure to update the source code in both 'index.js' and 'deploy-commands.js' within your project.
In JavaScript, call environmental variables using the command 'process.env.[...]'.
Replace [...] with the key value of your environmental variable.
To test if the token is valid, you can start the run stage. Wait for the terminal to display 'Ready! Logged in as Tutorial#...' and when your bot is online, it is live!
To load our new Slash commands onto the Discord server, we need to set up two more environmental variables: userID and serverID. To get these IDs from Discord, we need to enable the Discord Developer mode.
Go to the account settings and select ‘advanced’. There you can enable the ‘Developer Mode’:
Now, you can retrieve any ID you want from Discord. We specifically need the serverID and the userID from the bot.
To get the serverID/userID, right-click the server name/Tutorial Bot, and click on the toggle-down menu to copy the Server ID/ User ID:
Create a new role
To enable the bot to assign the Slash command user to a new role, we need to set up a role on the server.
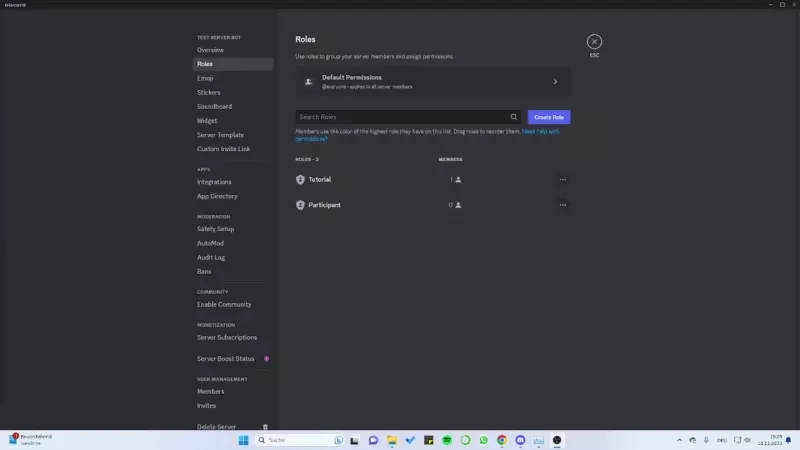
For that we create a new role on the server. Go to the server setting and navigate to ‘Roles’. Here you can easily create a new role:
You can customize various settings for a role. To keep this tutorial short, I suggest exploring these settings on your own to discover the possibilities. Once you've finished setting up your new role, remember to save the changes.
In Discord, roles have a hierarchy. The bot must have a higher rank than the new role. Without this, the bot won't have permission to assign this role to any user. To adjust the rank of the roles, click and hold the left mouse button on the eight dots to the left of the roles and drag the role to the desired rank:
The Bots role must be above the new role (in this picture the Participant role). Save the changes again, and Discord sets up the new role.
Now we need to copy the roleID and create a new environmental variable called ‘roleID’ so that the bot can add this role to a user who uses the /signup command. Right-click on the role to get the ID:
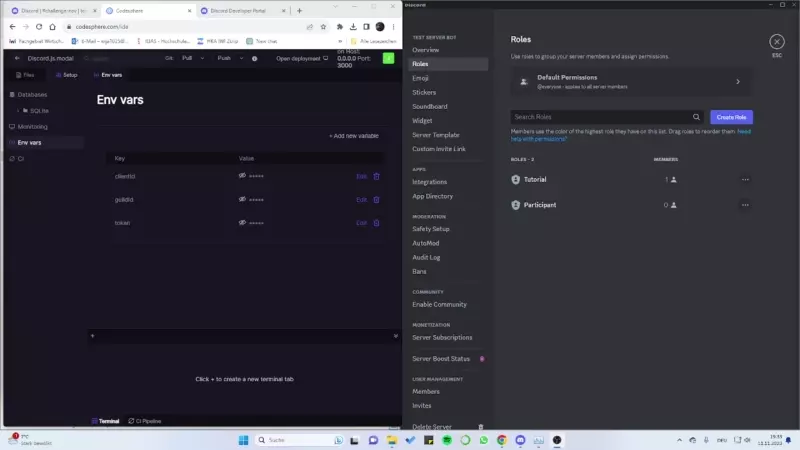
Name this new variable 'roleID' and assign it the value of the ID you just copied. This lets the bot access and use the role ID when handling the /signup command.
Create the SQLite Database
To store the email addresses and teams of the participants, we will set up an SQLite Database. In this section, we will learn how to use the SQLite UI in Codesphere.
Go to setup in your workspace and select Database in the menu and create a new Database. Name your Database ‘Member’, so that you don't need to change the source code.
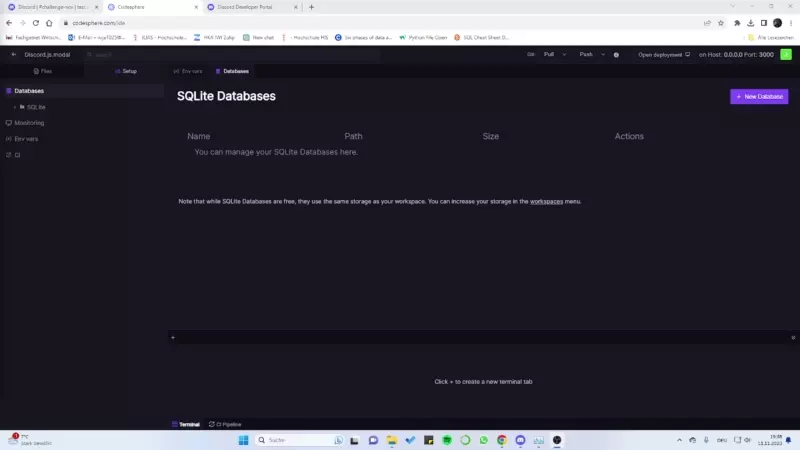
Note: If you decide to change your database's name, make sure to update the source code wherever it mentions the database. For example, you may need to modify the code in 'events/modal.js'::
Then, we want to create tables to insert and save the data.
Go to the Setup menu and click on SQLite. Right click on your database Member and select open Query editor:
To create these tables in your database, copy the following two codes and paste each in a separate query tab. You need to create the 'team' table before the 'participant' table':
a) team:
CREATE TABLE team (
      teamid INTEGER PRIMARY KEY AUTOINCREMENT,
      teamname TEXT UNIQUE,
      verificationcode TEXT UNIQUE
  );
b) participant:
CREATE TABLE participant (
      userid INTEGER PRIMARY KEY,
      username TEXT,
      email TEXT,
      teamid INTEGER NOT NULL,
      FOREIGN KEY (teamid) REFERENCES team(teamid)
);
Now you should see in the menu that two tables exists:
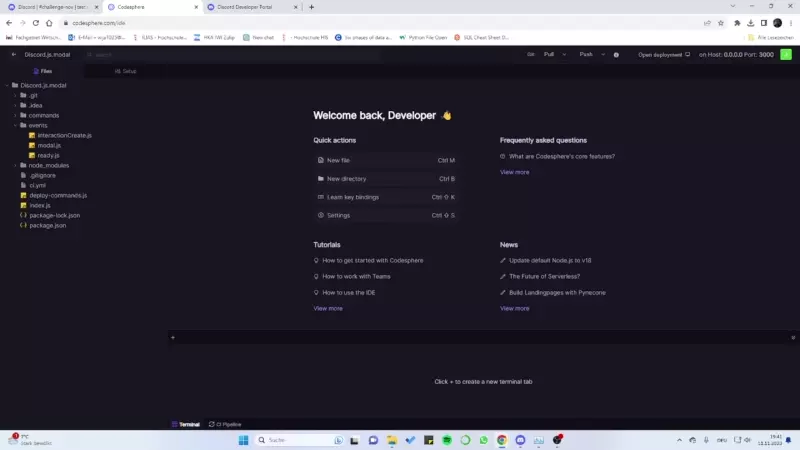
Ready to Use
With everything set up, restart the run stage, and the bot will come online, allowing you to use the /signup command on your server.
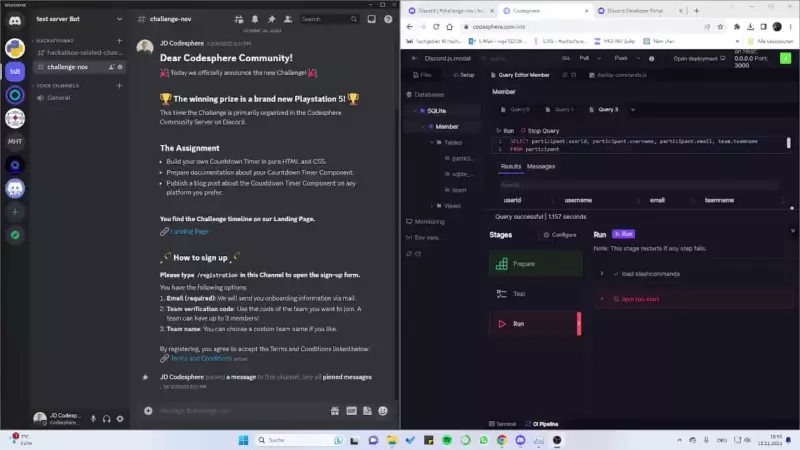
You can query the database to see who signed up. For that go to the query editor like before and open a new query tab. You can simply insert this SQL code that queries all participants and their assigned team:
SELECT participant.userid,
        participant.username,
        participant.email,
        team.teamname
FROM   participant
INNER JOIN team ON participant.teamid = team.teamid;
Ready to create your own bot with discord.js? This tutorial just scratched the surface—there are so many more possibilities!
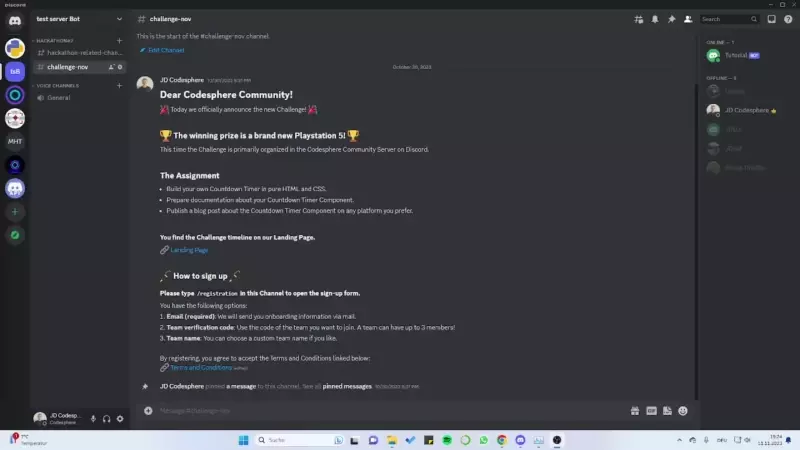
Discord Community Server
Keen on connecting with fellow Discord Bot creators? Join our Discord Codesphere Community Server:
